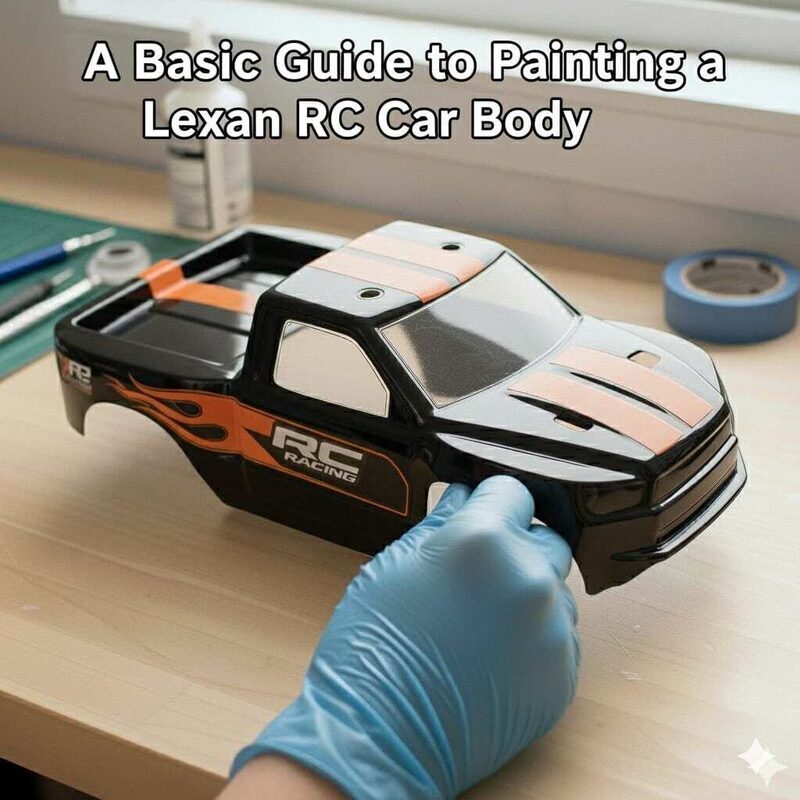
A Basic Guide to Painting a Lexan RC Car Body
Painting a custom body is one of the most rewarding parts of the RC hobby. A professional-looking paint job can make your car stand out at the track or on the trails, and the best part is that you don’t need to be a professional artist to get great results. The secret lies in a simple, step-by-step process and using the right tools.
This guide will walk you through everything you need to know to get a flawless finish on your Lexan RC car body.
The Golden Rule: Paint from the Inside Out
The most important thing to remember is that you paint the inside of the body. This is why RC car bodies are sold as clear, see-through shells. By painting on the inside, the glossy Lexan acts as a durable, protective layer for your paint, shielding it from crashes, scratches, and scrapes.
What You’ll Need
A Clear Lexan Body: The blank canvas for your project.
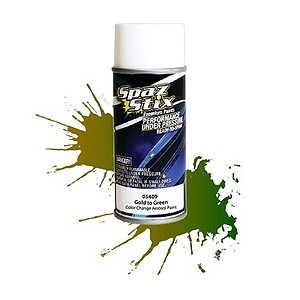
Lexan-Specific Paint: This is non-negotiable! You must use paint made specifically for polycarbonate (Lexan) bodies. Regular spray paint will not flex with the body and will crack and flake off on the first impact.
Masking Supplies: Window masks (usually included with the body) and good quality masking tape for creating your design. For complex or curved lines, you can also use a liquid mask.
Cutting Tools: Sharp curved scissors for cutting the body, a hobby knife, and a body reamer for making perfect holes for your body posts.
Cleaning Supplies: Dish soap, warm water, and a lint-free towel.
Decals: Stickers to add the finishing touches.
Step-by-Step Instructions
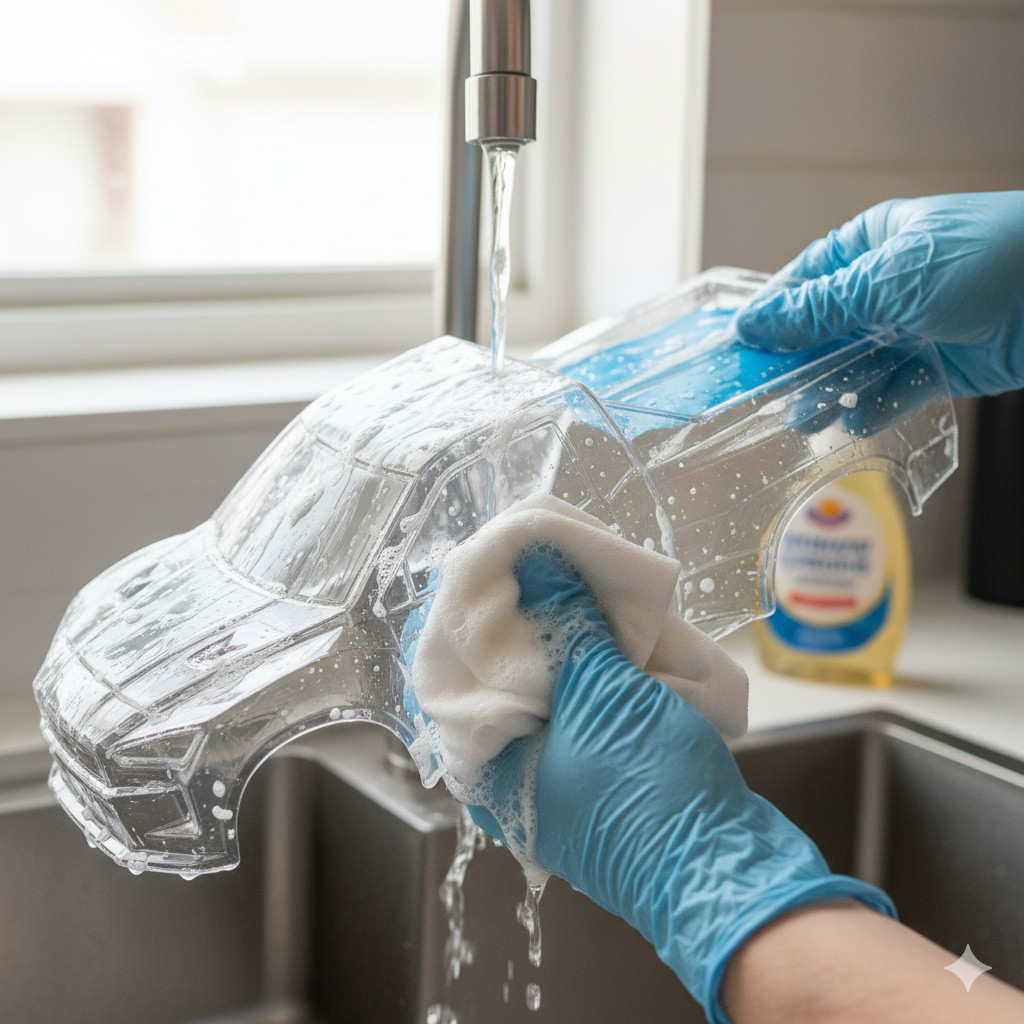
1. Prep the Body: Before anything else, the body must be perfectly clean. Use warm water and dish soap to thoroughly wash the inside of the body. Pay close attention to all the nooks and crannies to remove any manufacturing residue or fingerprints. Let it dry completely with a lint-free cloth.
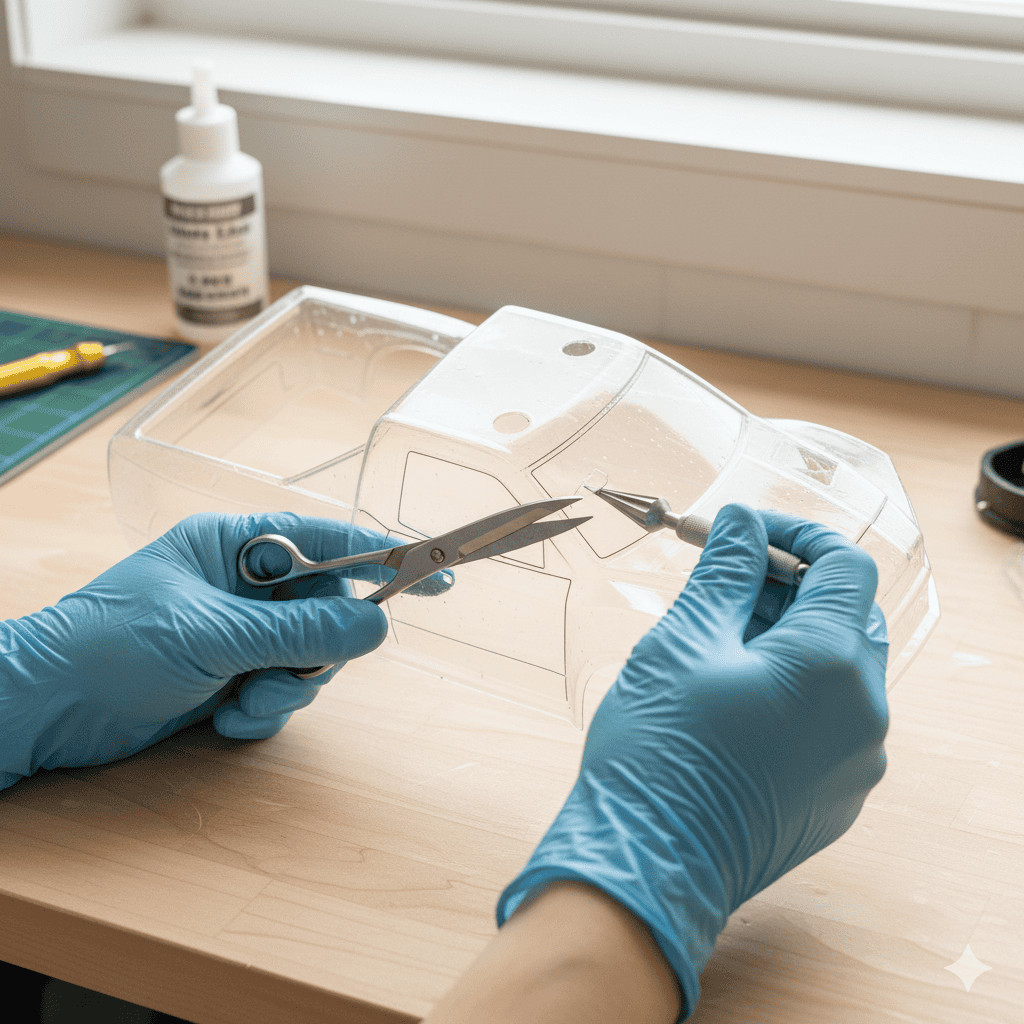
2. Cut and Trim: Use your curved scissors to cut the body out along the designated trim line. For the most precise look, use a body reamer to create the holes for the body posts and antennae.
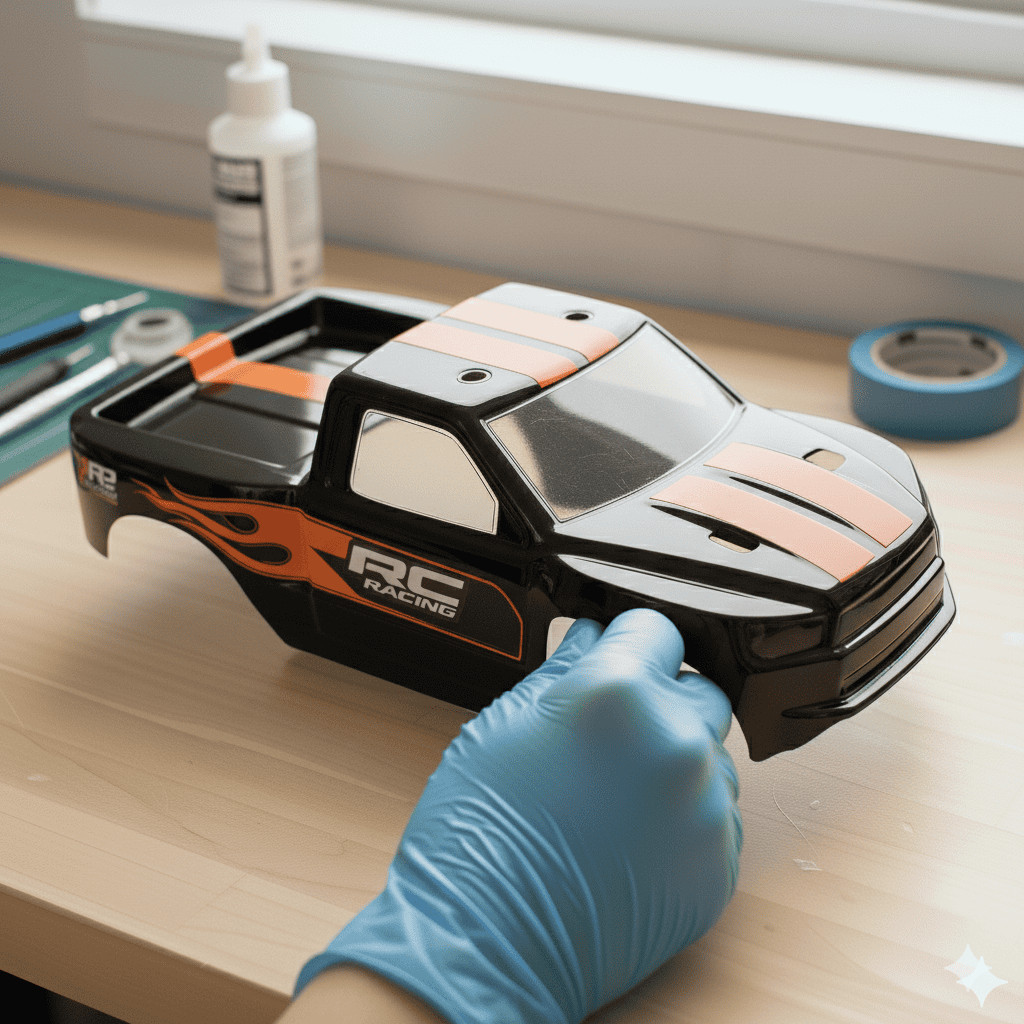
3. Mask Your Design: Apply the included window masks to the inside of the body. If you’re doing a custom design with multiple colors, use your masking tape to block off the areas you don’t want to be painted first. The general rule is to paint from darkest color to lightest color, so you’ll want to mask off the lightest sections of your design first.

4. Spray the Darkest Color: With your body prepped, it’s time to paint. In a well-ventilated area, shake your paint can well. Hold the can about 8-12 inches away from the body and apply several very light, even coats. Avoid heavy, thick coats, as they can bubble or run.
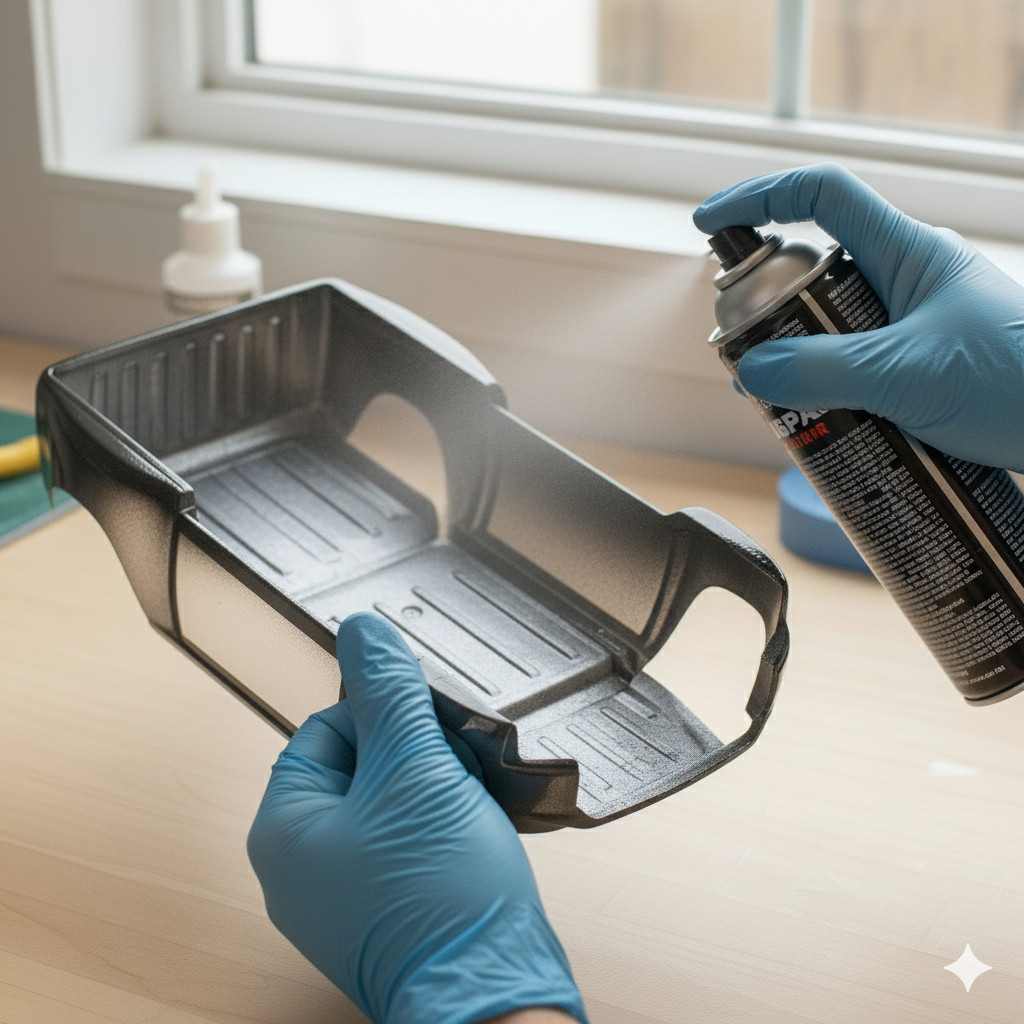
5. Let each coat become tacky (a few minutes) before applying the next. Or use a hair dryer to dry the paint.

6. Peel and Spray the Next Color: Once your first color is dry, carefully peel off the masking for the next color in your design. Repeat the process of applying light, even coats.
7. “Back” the Paint: After all of your main colors are dry, you need to “back” them. This means applying a final solid color over your entire design. This step is crucial because it makes your colors look solid and vibrant from the outside and prevents them from looking transparent. White or black are common backing colors.
8. Final Touches: Once the final backing coat is completely dry, remove the window masks and any remaining tape. Peel the protective plastic film off the outside of the body. You can now apply any decals to the outside to complete your custom look.

Now you have a brand-new, professional-looking body that is ready to hit the track! Remember, every great paint job starts with patience and good preparation. Happy customizing!